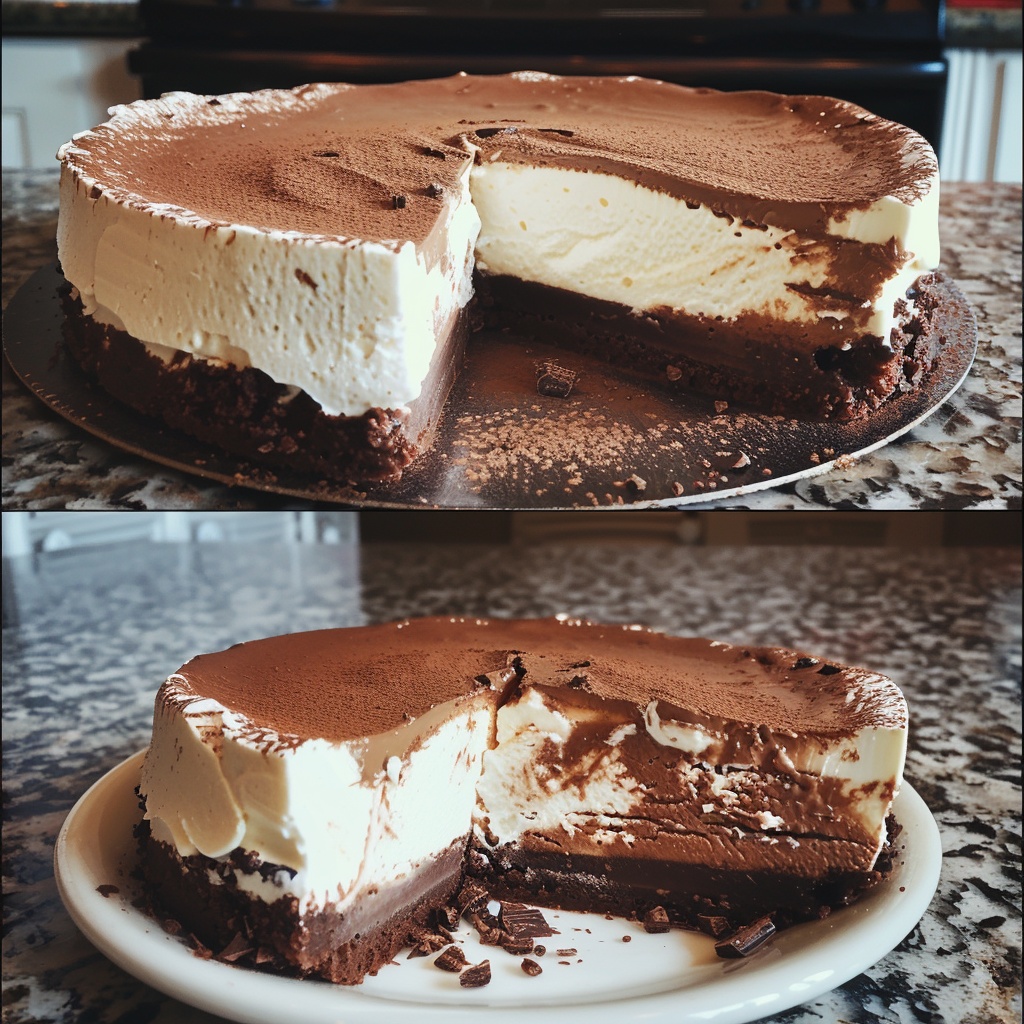
Decadent Hot Chocolate Cheesecake Delight
Ingredients:
- 1 1/2 cups chocolate cookie crumbs
- 1/4 cup melted butter
- 24 oz cream cheese, softened
- 1 cup granulated sugar
- 1/4 cup cocoa powder
- 3 large eggs
- 1 tsp vanilla extract
- 1 cup heavy cream
- 8 oz semi-sweet chocolate, melted
- Whipped cream, for topping
- Mini marshmallows, for topping
- Chocolate shavings, for garnish
Directions:
- Preheat oven to 325°F (165°C). Grease a 9-inch springform pan.
- In a medium bowl, combine the chocolate cookie crumbs and melted butter. Press the mixture into the bottom of the prepared pan to form the crust.
- In a large mixing bowl, beat the cream cheese until smooth. Add the sugar and cocoa powder, mixing until well combined.
- Add the eggs one at a time, beating well after each addition. Mix in the vanilla extract.
- Gradually add the heavy cream and melted chocolate, mixing until smooth and well combined.
- Pour the cheesecake batter over the crust in the springform pan.
- Bake for 55-60 minutes, or until the center is set and the top looks dry. Turn off the oven and let the cheesecake cool in the oven with the door slightly open for about an hour.
- Remove the cheesecake from the oven and let it cool completely at room temperature. Refrigerate for at least 4 hours, or overnight.
- Before serving, top with whipped cream, mini marshmallows, and chocolate shavings.
- Prep Time: 20 minutes | Cooking Time: 60 minutes | Total Time: 1 hour 20 minutes (plus cooling time)
- Kcal: 450 kcal | Servings: 12 servings
FAQs:
- What is Hot Chocolate Cheesecake?
- Hot Chocolate Cheesecake is a decadent dessert that combines the flavors of hot chocolate with creamy cheesecake. It typically features a chocolate cookie crust, a rich chocolate cheesecake filling, and is often topped with whipped cream, mini marshmallows, and a drizzle of chocolate sauce to mimic the taste and presentation of a cup of hot chocolate.
- How do I make Hot Chocolate Cheesecake?
- To make Hot Chocolate Cheesecake, start by preparing a chocolate cookie crust using crushed chocolate cookies and melted butter. Press the mixture into the bottom of a springform pan. For the filling, beat cream cheese, sugar, and cocoa powder until smooth. Melt chocolate and mix it into the cream cheese mixture along with eggs and vanilla extract. Pour the filling over the crust and bake in a water bath to ensure even baking and prevent cracks. Once baked and cooled, top with whipped cream, mini marshmallows, and chocolate drizzle.
- Can I make Hot Chocolate Cheesecake ahead of time?
- Yes, Hot Chocolate Cheesecake can be made ahead of time. In fact, it’s often best to prepare it a day in advance to allow the flavors to meld and the cheesecake to set properly. After baking, cool the cheesecake to room temperature, then refrigerate it overnight. Add the toppings just before serving for the best presentation and texture.
- What are some variations of Hot Chocolate Cheesecake?
- There are several variations of Hot Chocolate Cheesecake you can try. For a peppermint twist, add peppermint extract to the cheesecake filling and top with crushed candy canes. You can also incorporate other flavors like caramel by adding a layer of caramel sauce between the crust and the filling. For a richer chocolate flavor, use dark chocolate instead of milk chocolate in the filling.
- How should I store Hot Chocolate Cheesecake?
- Store Hot Chocolate Cheesecake in the refrigerator, covered with plastic wrap or in an airtight container, for up to 4-5 days. To maintain its texture, keep the toppings separate and add them just before serving. If you need to store the cheesecake for a longer period, you can freeze it (without the toppings) for up to 1-2 months. Wrap it tightly in plastic wrap and aluminum foil, then thaw in the refrigerator before serving.
Hot Chocolate Cheesecake combines the comforting flavors of a classic winter beverage with the creamy, indulgent texture of cheesecake, making it a perfect dessert for holiday gatherings and special occasions.